When a horse’s shoe comes loose the signs can be subtle or dramatic. A twisted or dangling shoe will be hard to miss, but if a sprung shoe pretty much stays in place, the only clue might be a sliding sound as the affected hoof hits hard ground. A bent shoe or one that’s working its way off can alter a horse’s gait or even make him appear lame.
The consequences of a loose shoe can be equally variable. Usually, it’s little more than a nuisance that requires a short visit from the farrier. Sometimes, however, a shoe may cause injury as it loosens or wrenches free.
The best way to handle a loose shoe depends on the circumstances and the hoof’s condition.
IF IT’S ONLY SLIGHTLY LOOSE
Even the best-set shoe will eventually loosen over time. Giving each shoe a “wiggle” as you handle your horse’s feet each day may provide an early warning that the nails on one are starting to lose their grip. If the shoe is still in place and all the nails are in their original positions, you may be able to secure it until the farrier arrives. Any one of these steps may help keep the shoe in place if the farrier cannot come right away:
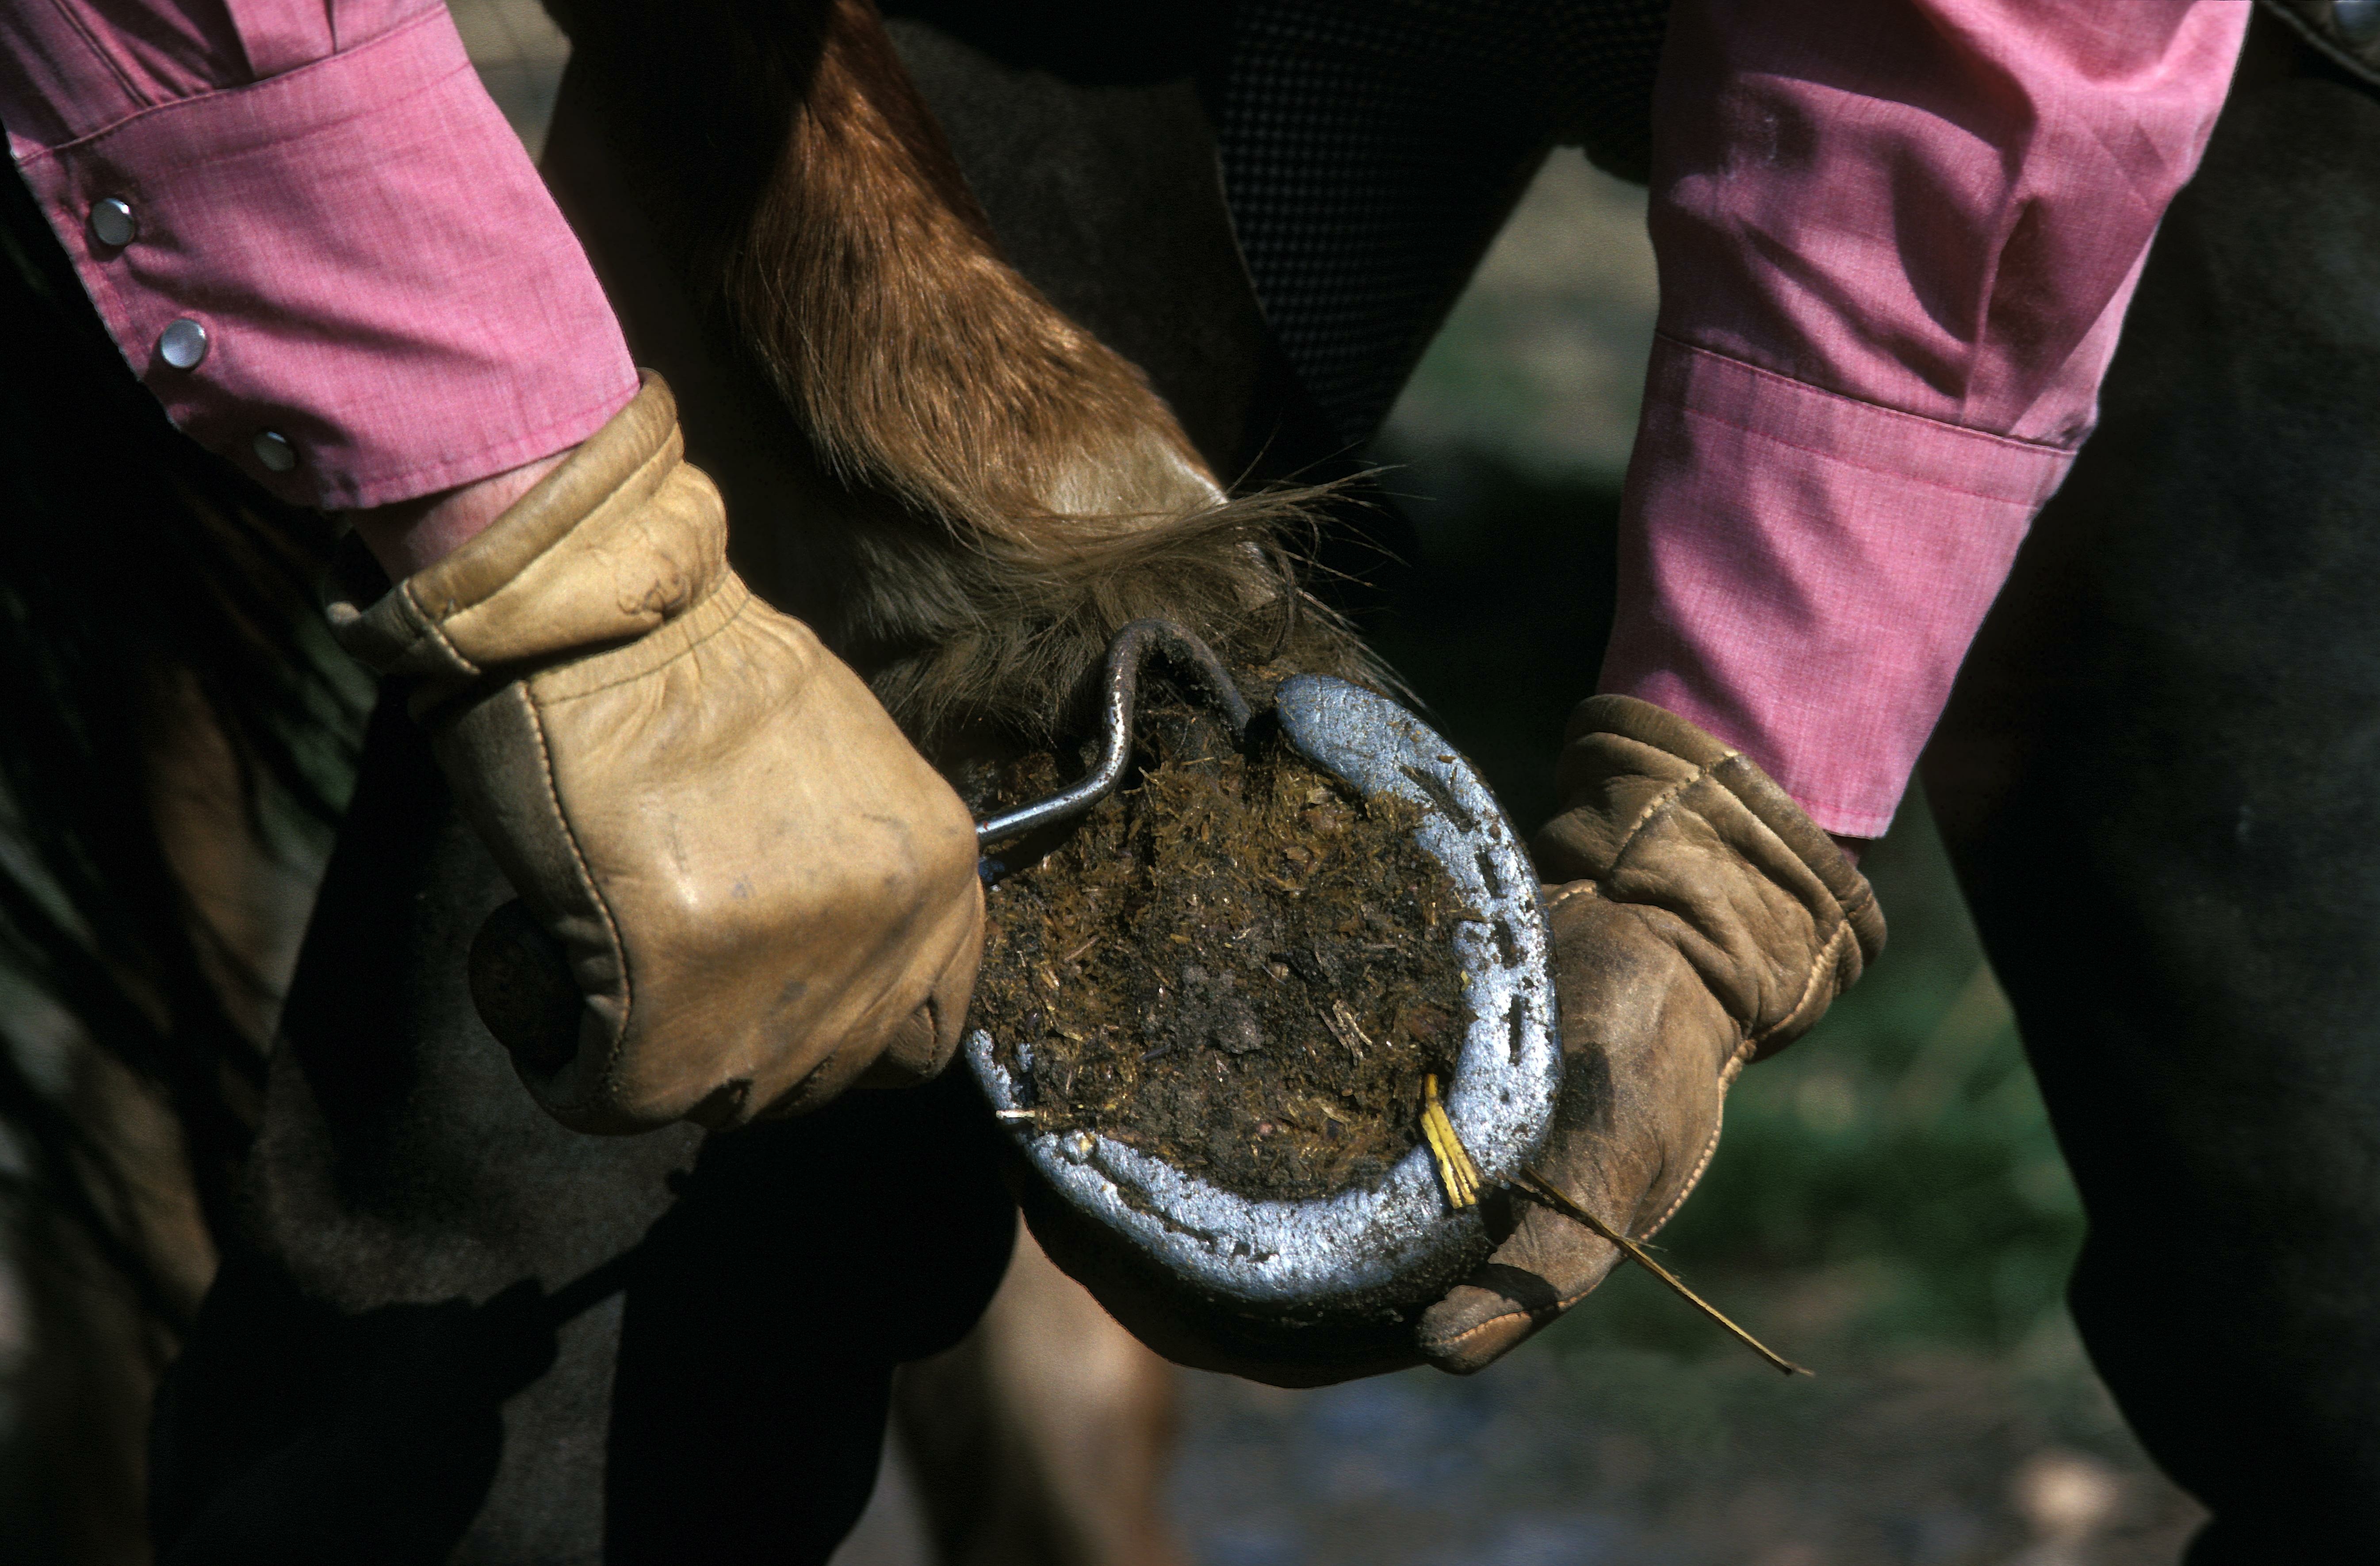
• Tighten the clinches. After a farrier drives each nail into the hoof wall, he bends the exposed nail tip that emerges from the hoof wall downward into a hook shape, called a “clinch,” that helps to secure the shoe. To tighten clinches on a loose shoe, you’ll need a farrier’s rasp and clinchers, a tool used to double over the cut-off nail. First, remove the old clinches: Place the hoof just above your knees, with the sole facing downward, as you squat slightly with your legs together. Then use downward strokes with the rasp to file down the clinches. Be sure to use the metal cutting edge of the rasp and to stay on the clinches—you want to avoid rasping the hoof wall as much as possible. You’ll need to reposition yourself to access the clinches on each side of the hoof. Then use the clinchers to bend the newly exposed nail shaft downward. In some cases, if you need to deal with just a nail or two, you can just tap the clinches down gently with a lightweight hammer.
• Wrap the hoof. Any of a number of methods for wrapping a hoof may help secure a wobbly shoe. With self-adhesive wrap, a figure-eight approach is effective: Start by wrapping around the coronary band and heels two or three times, then begin the figure eight by bringing the wrap down over one heel and up over the toe on the opposite side, then crossing over the front of the toe and dropping down to come up over the opposite heel; repeat that maneuver several times, then finish with two final passes around the perimeter of the hoof. Gorilla or duct tape applied in short strips over the sole may also do the job—but take care to avoid getting tape stuck on the coronary band or pastern. Remember that the bandage will need to stay dry, and you’ll have to add more tape frequently if the horse is on abrasive surfaces.
• Apply a hoof boot. Protective boots may limit movement of the shoe and prevent further loosening. You’ll want to choose a product that was designed to be worn over shoes.
IF IT’S EXTREMELY LOOSE
A shoe that has gotten bent can place bruising pressure on the frog and other tissues in the hoof, and exposed nails and shifted clips can cause puncture wounds. Even without those specific hazards, a shoe that has lost nails and/or is so loose that you’d worry about it falling off may cause injury.
In that case, the safest thing to do is to pull the shoe yourself, even as you wait for the farrier. You’ll need a farrier’s rasp and puller to get the shoe off without damaging the hoof. Here’s how to do it:
• Start by rasping down the clinches as described previously under “Tighten the clinches.” Or lift them by tapping upward under them with a clinch cutter.
• Shift the hoof to hold it between your knees as the farrier does, so you can see the sole. Beginning near one heel, seat the jaws of the puller under the shoe and close the handles to raise the shoe about a quarter inch. If you have crease nail pullers you can skip this step.
• Pull gradually and steadily downward and at a diagonal toward the toe. This angle is least likely to damage the foot or cause pain to the horse. Pull just enough to loosen the heel nail.
Click here to learn about a quick and easy treatment for scratches.
• Tap the shoe itself back down onto the hoof so that the head of the nail protrudes. Use the puller to grasp the nail and pull it from the hoof. Or if you are using crease nail pullers, grab the head of each nail and pull the handles downward and at a diagonal toward the toe.
• Repeat the procedure to remove the rearmost nail at the other heel. Then continue for each remaining nail, alternating sides as you go. Once the last nail is out, the shoe will fall free. Be sure to pick up all the nails.
Once the shoe is off, you may apply a wrap or a hoof boot to protect the horse’s foot while you wait for the farrier. From there use your best judgment as far as the horse’s activity; you may need to keep him in a stall or small paddock until he can be reshod.
This article first appeared in EQUUS issue #462
Don’t miss out! With the free weekly EQUUS newsletter, you’ll get the latest horse health information delivered right to your in basket! If you’re not already receiving the EQUUS newsletter, click here to sign up. It’s *free*!


